I love felt. It’s the best thing ever, along with wool and fabric and ribbon and glitter and cheesecake and snow and... well it’s one of the best things ever.

But back to felt, it’s a beauty because it looks lovely and it is very easy to
I love a good old felt decoration for the Christmas tree but I love felt all year round, so I made a few of these to have as home decorations, and here’s how to do it.

You will need:
- 3 pieces of felt
- 1 pair of sharp scissors
- Yarn
- Thread
- Needle (1x small 1x large for yarn)
- Pencil
- Toy stuffing
- Length of ribbon
- Paper

Symmetrical heart – done!
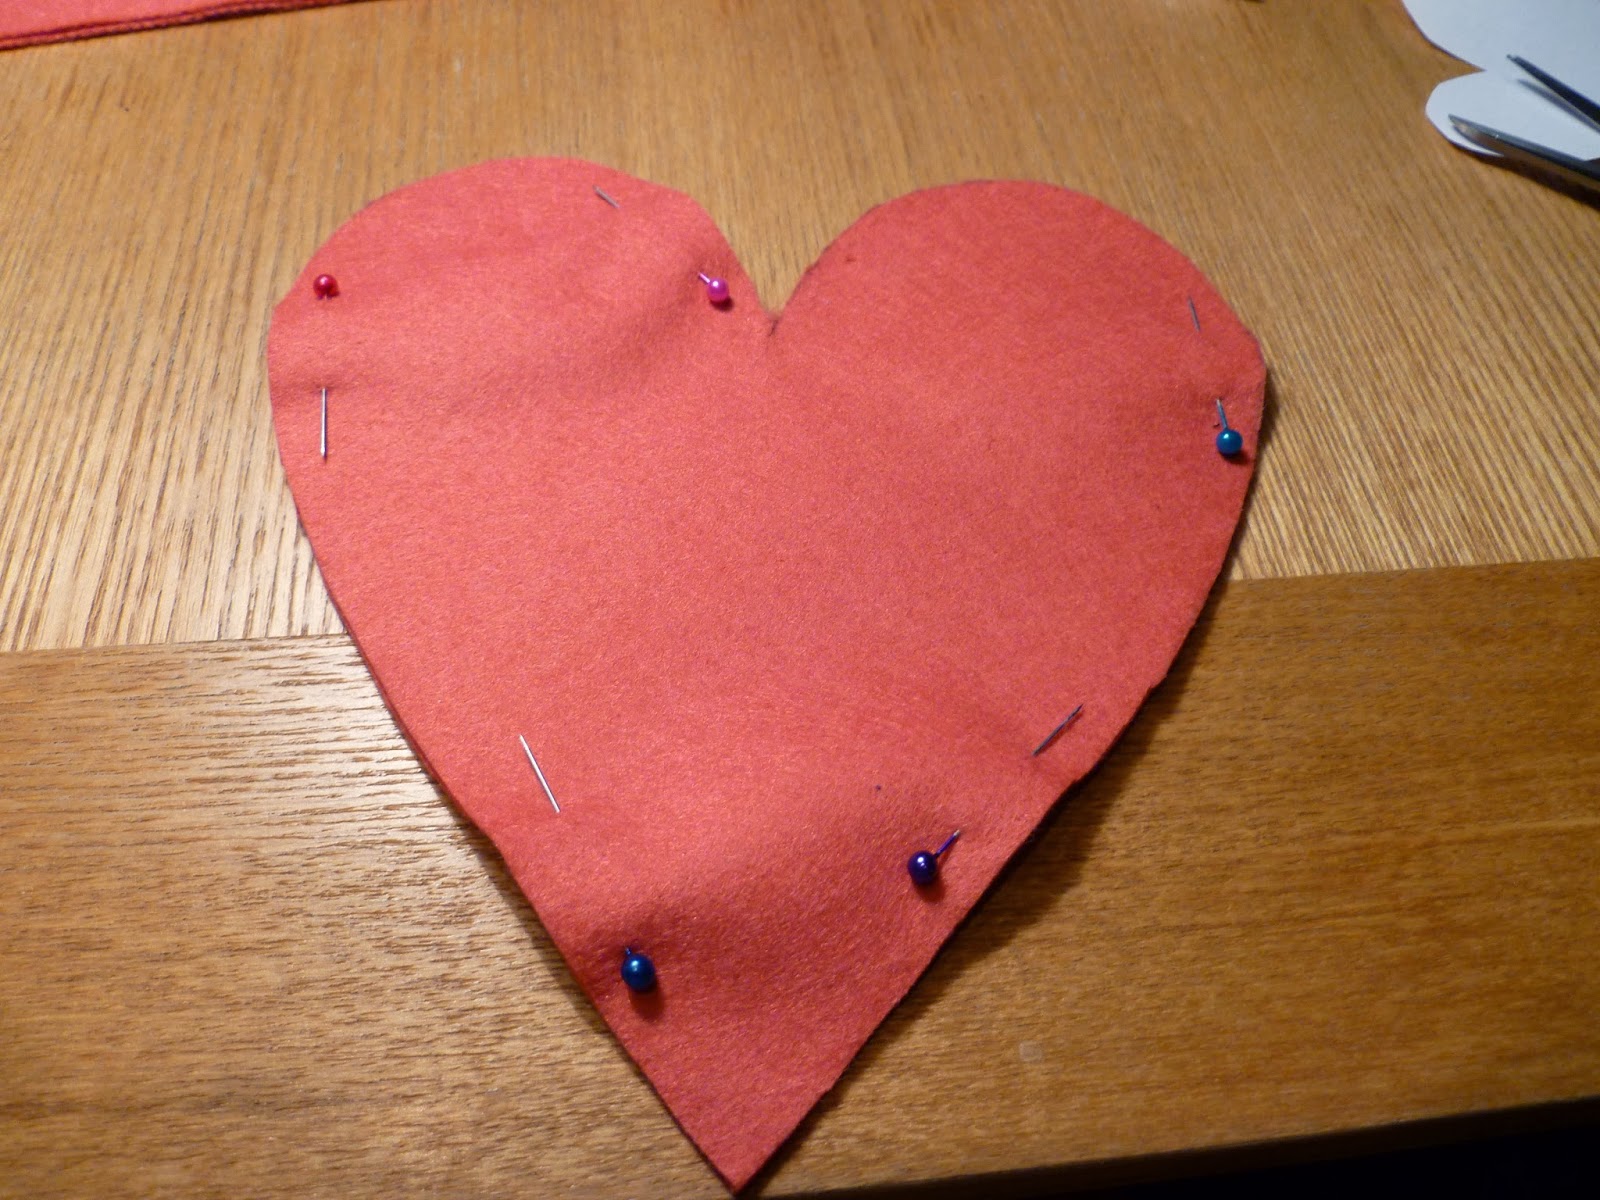
Using my new stencil I then drew around this onto one piece of felt (the colour I wanted for the heart) I then pinned two pieces of felt together and cut around them both at the same time – giving me two heart pieces which were identical.


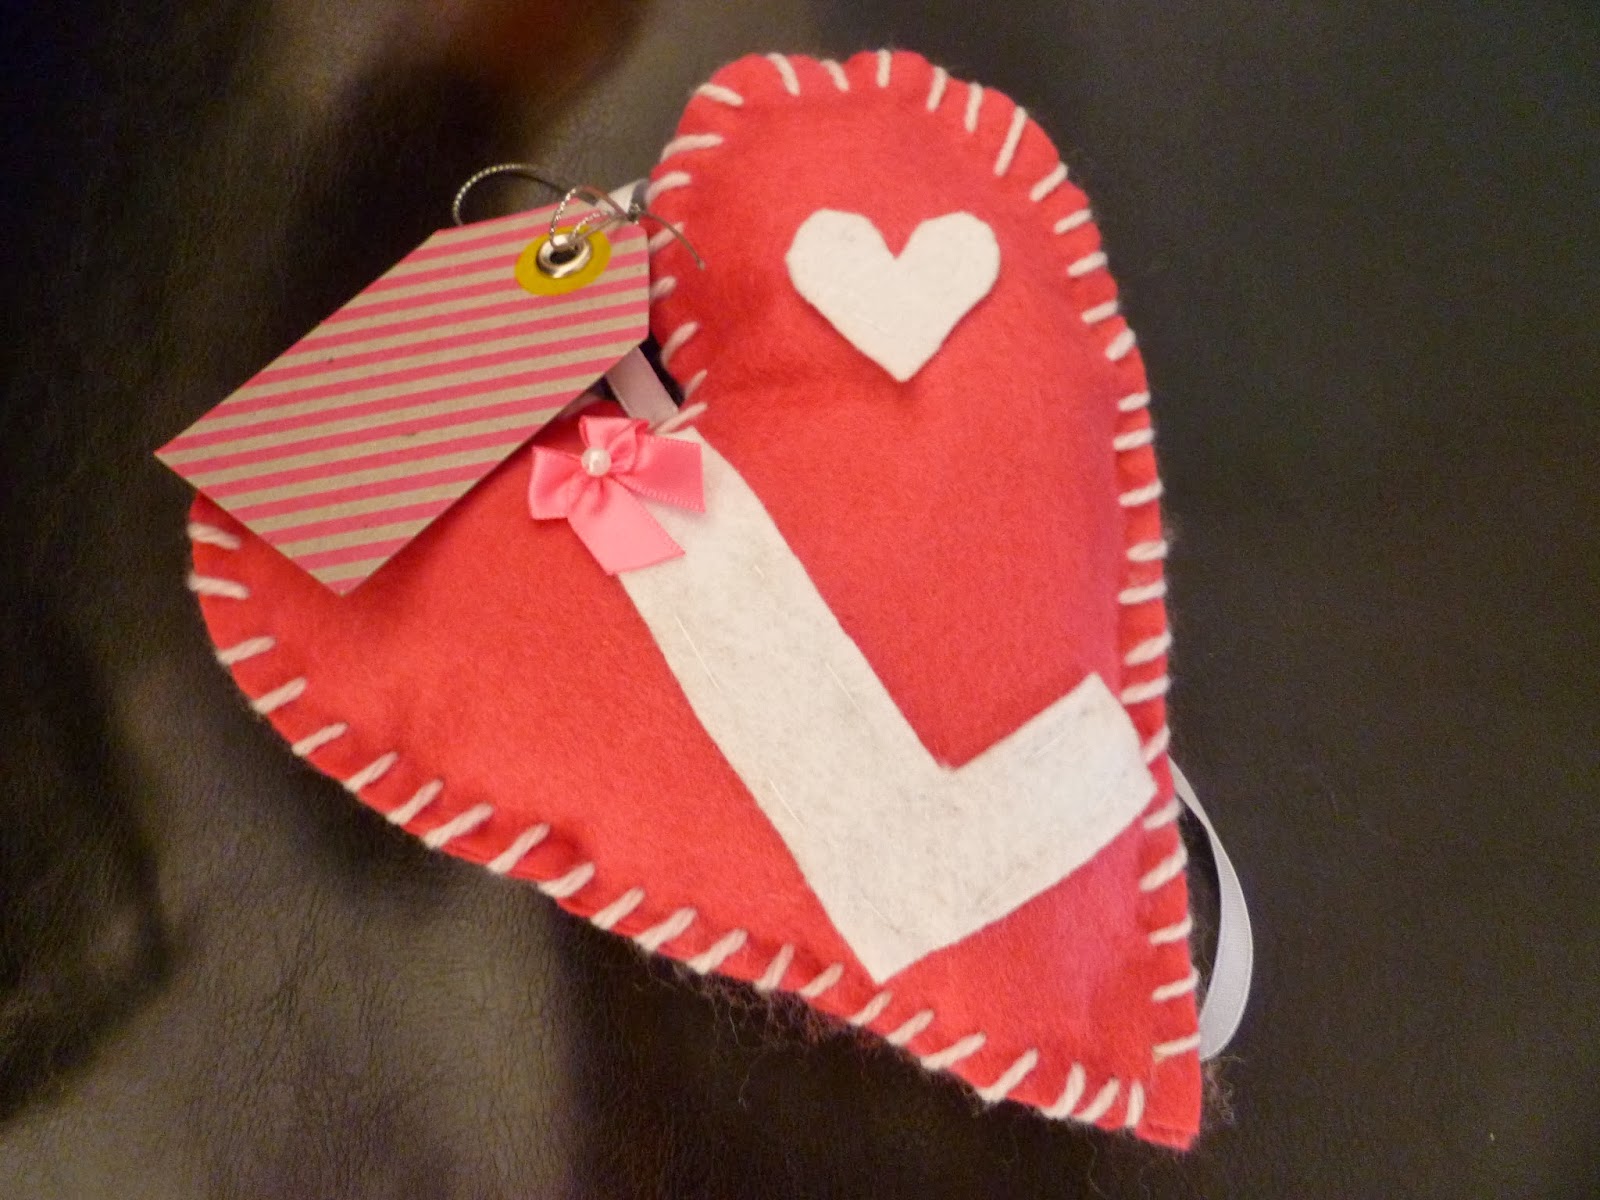
Now for this heart I wanted a letter on the front as its going to be a gift, so again out came the stencil making kit (paper, ruler and pencil) I drew my letter onto the felt and cut it out. I also made a mini heart as well.

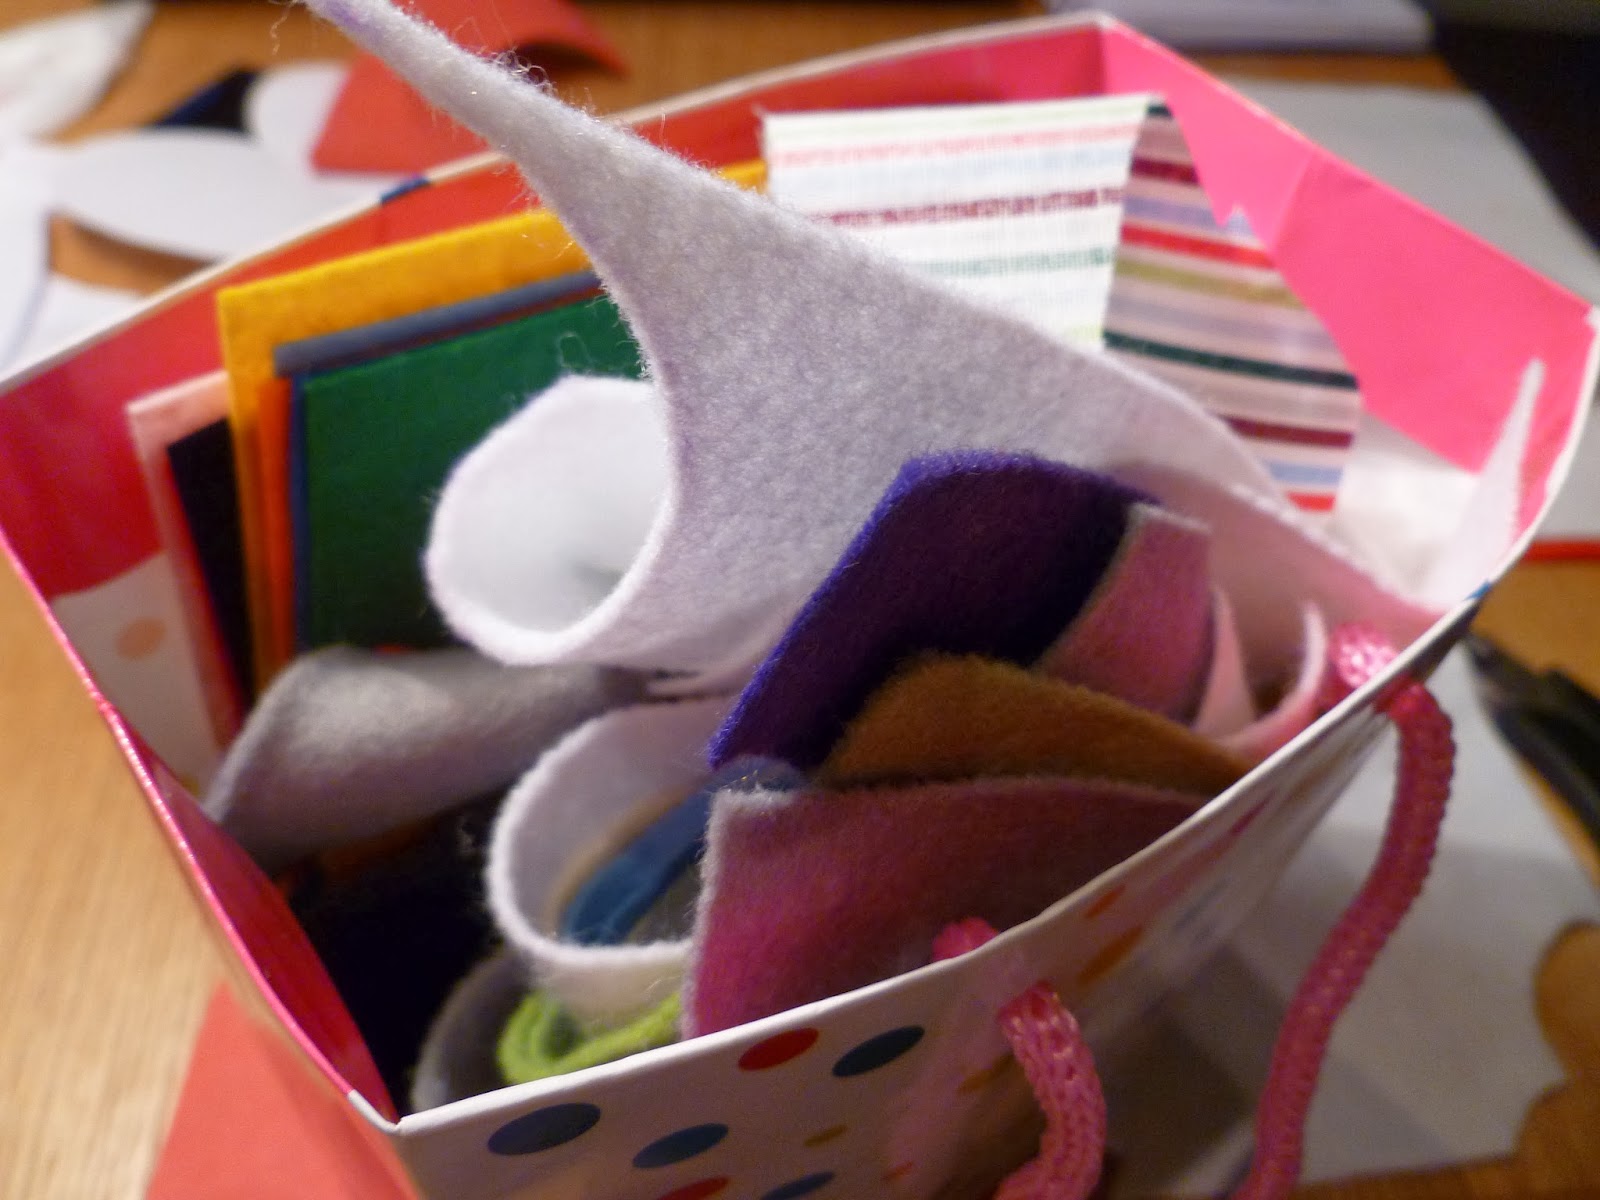 |
| I keep all my odd pieces of felt and fabric in here, and for this project I was able to use an old piece of white felt rather than a new one . |
Then using the same colour thread as your letter, you need to sew it onto the outside of your front piece of felt.


And I added this cute little bow which I got from my local haberdashery. I sewed this on using pink thread.

(As my heart was for a small baby I glued all the pieces down and then sewed them as well just to make it extra secure.)
I also want the heart to hang from a piece of ribbon so to do that you need to cut the ribbon to your desired length and fold it in half, you then sew the two ends of ribbon together to make a loop.
I also want the heart to hang from a piece of ribbon so to do that you need to cut the ribbon to your desired length and fold it in half, you then sew the two ends of ribbon together to make a loop.


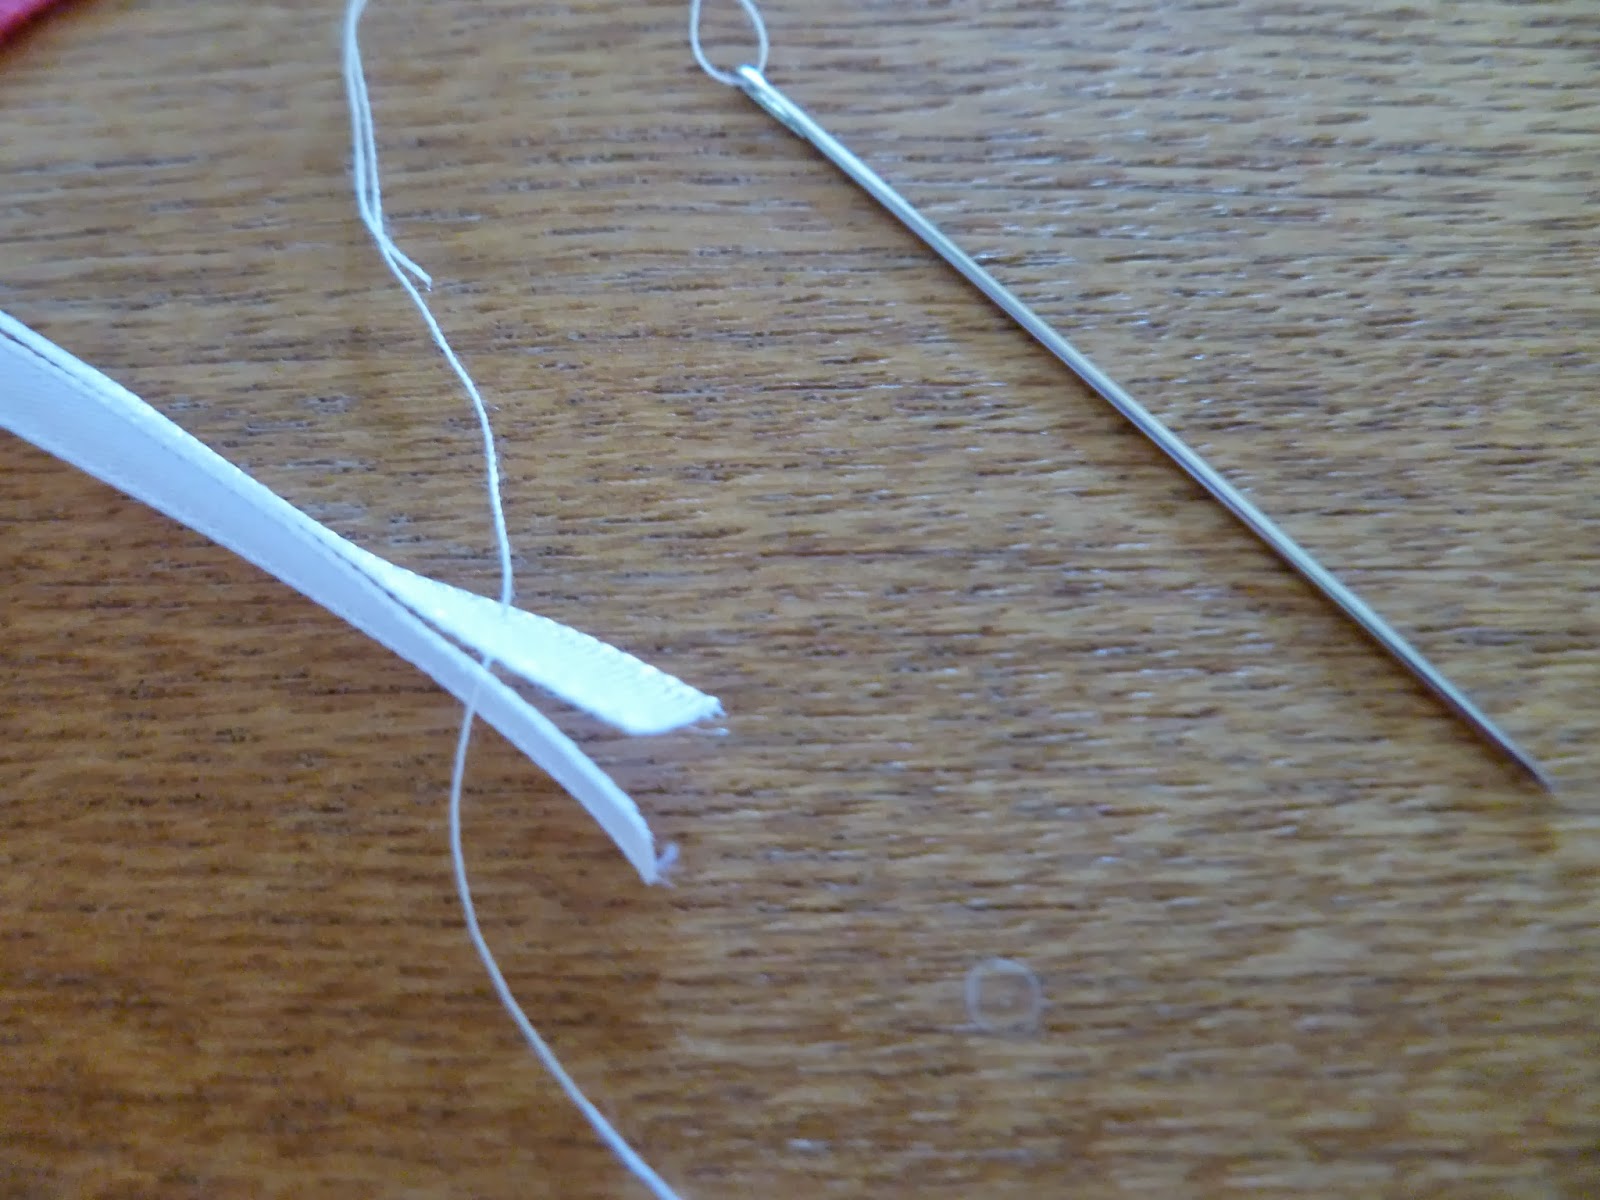

The using the same colour thread as the felt you then need to sew the ribbon onto the inside of the back piece of felt.

 |
| Almost invisible! |
Now you can start stitching those babies together! Again if your super precise, you want to put pins around the edges to keep the hearts lined up (I didn't do that this time but I have made a fair few of these). Now here's where personal taste comes in, I like to sew the pieces together using a piece of yarn, so the stitches can be clearly seen and almost give the heart a little frame, alternatively you can use thread if you don't want your stitches so visible.

Taking the needle and your thread/yarn, I have always found it easier to start from the bottom, cut your yarn to the length needed, I usually guess by going round the heart 3 times as shown, it's always plenty!.

Then start sewing those pieces together! The tricky bit comes when you have to go around the ribbon at the top, here's how I do it to keep it neat and tidy.


As you sew that baby up, start filling it with your toy stuffing! Don't do what I always do and forget and then get to the end and struggle to fill it through a teeny tiny hole!


To tie it off, stitch to the end and then push you needle right through the middle of the heart and straight through the other side, pull tight (tight enough that your heart squishes up) and then cut the excess and pull the heart back into shape.


 |
| I make such a mess! |
And now your finished! Go hang that pretty little heart!


Muchos x
No comments:
Post a Comment