

Now I was ready. The next day me and J made a trip to our local Wilkinson's for some cheap supplies, sandpaper, masking tape, paintbrushes, undercoat and white gloss (yes we really did have none of those things! I am sure that will soon change once we become 'home owners') For less than £15 we had the lot and the real fun could start.
My first job was to sand down the frame to get rid as much of the varnish as possible, it took some doing and I probably should have kept at it a while longer but I hate sanding and my impatience won out.


Once I was happy enough with how much I had sanded we got to work and painted the frame with it's first layer of undercoat, yes I said we, it seemed J couldn't resist all the DIY that was going on and couldn't help but get involved - much to my delight!


Each coat had to be left for 16 - 20 hours to dry. And on J's instruction we had to give it three yes three coats of undercoat before he would let the gloss go on!

Finally, four days later the third coat was dry and the glossing began. This too took a day to dry, but it was worth it...


Whilst waiting for the paint to dry, we decided not to sit and watch it dry but to go and get our fabric to cover the cork. This was perhaps the most stressful part of the project. As we haven't moved into our new home yet, we also haven't decorated, so we had to decide once and for all the colour scheme for our dining room, as that's where we plan to hang the pin board. We easily decided on green as our main colour accent for the room, now it was finding the shade and pattern and that's when the tension started. My mind wanted vintage florals, his mind wanted masculine stripes and a simple design. We'd all about given up when we found it...

Polka dot perfection and a delicious shade of green that's fresh and light without being too overpowering. Love. And at £11.99 a metre it was a bargain, as the fabric was 140 cm wide we only needed 1 metre for this project (our board is 120 x 92 cm) but I snuck in an extra metre for luck (I sense cushions!)
Once home the fabric needed ironing. Lots.
 |
| The ironing session from hell itself... |
There were still faint creases when we decided to give up (9 irons later) and just go for it. Impatience won out again. Luckily with no adverse results!
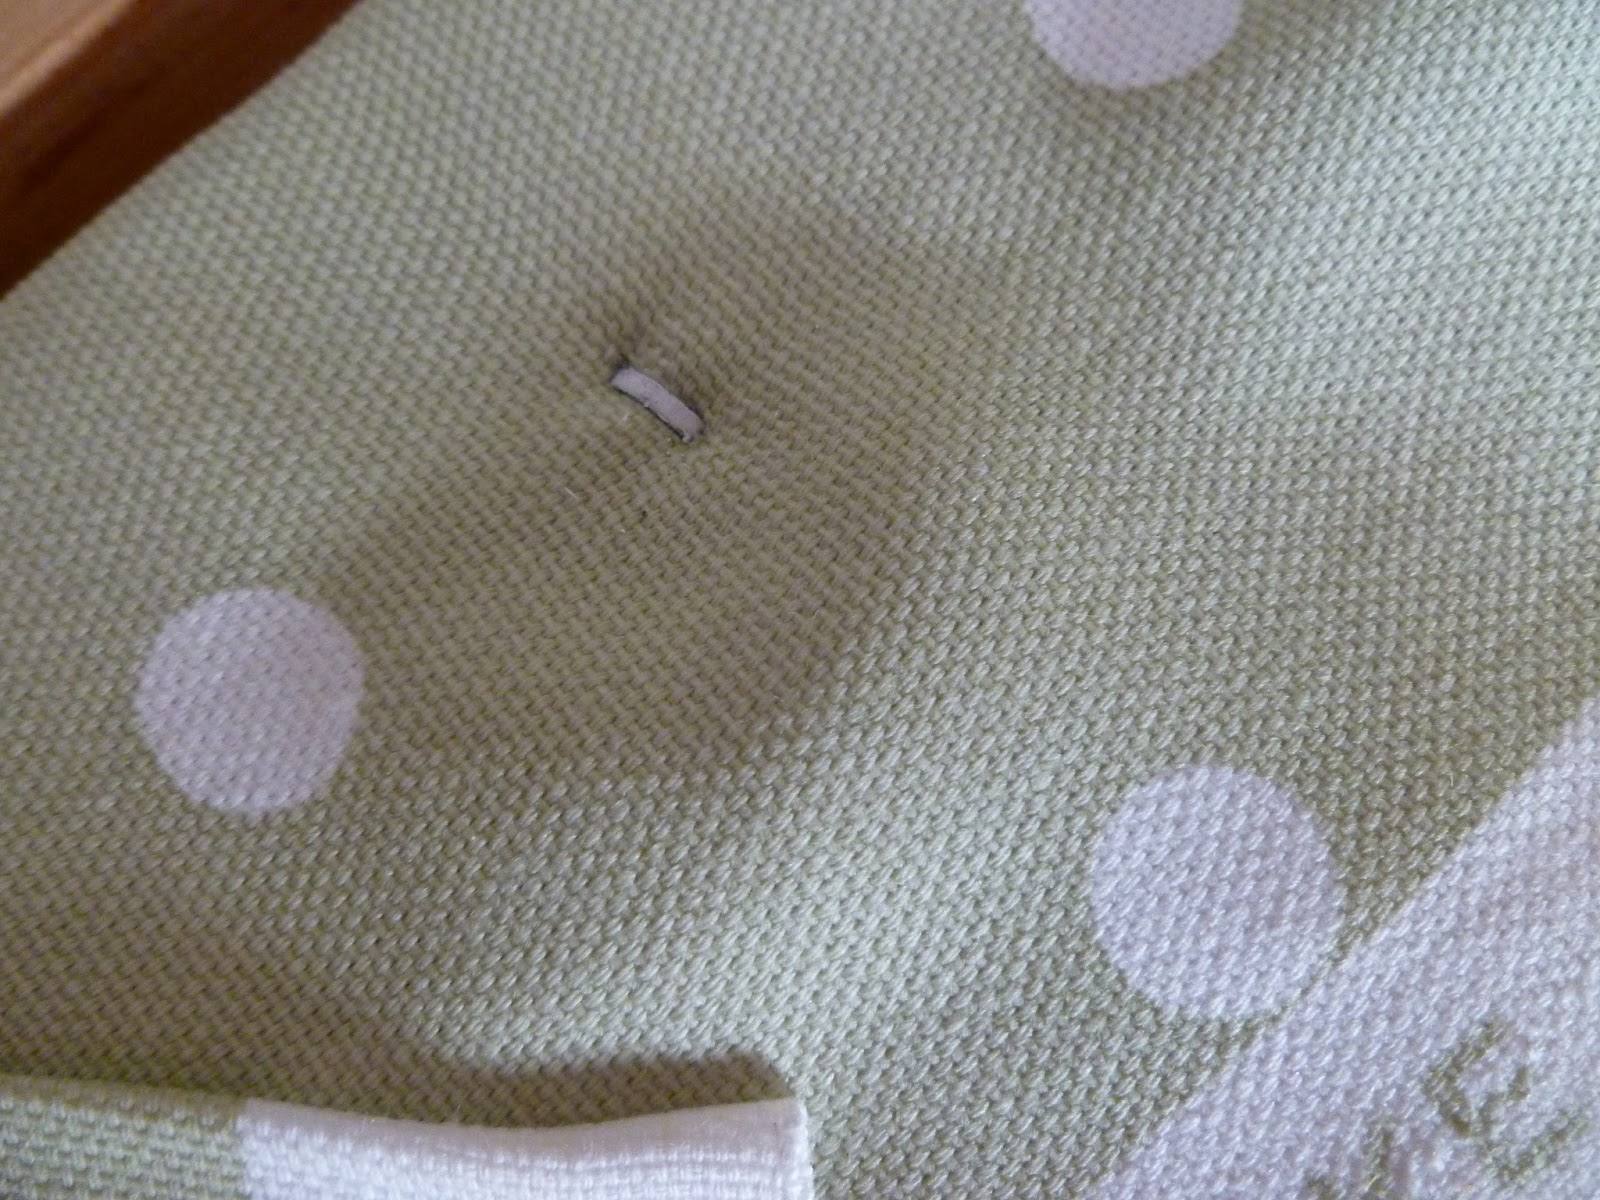
We did prep the cork by covering the sides with masking tape, purely because they had suffered some damage when I removed them from the frame due to the glue that had held them in place. I'm not sure it was necessary but we did it anyway.

The boyfriend proved incredibly useful once more and produced a staple gun I had no idea he had (it's meant for wiring but it worked a charm) so we got staple happy. This was a two man job so there's no pictures of the process but what we did was to lay out the fabric face down and placed the cork board on top. We made sure the fabric was straight (no one wants wonky polka dots) and once we were 100% happy we folded over the top and stapled all along, starting in the middle and working out. We then pulled the bottom tight (to get rid of them creases) and keep the fabric snug to the board, and stapled again. We did this again for the sides. We had our fabric covered cork! And it looked perfect in its new glossy white frame.

All that was left was to secure the cork to the frame. I didn't want to glue it again as I wanted to be able to easily remove the cork should we need to. So a trip to B&Q later and we returned with these.
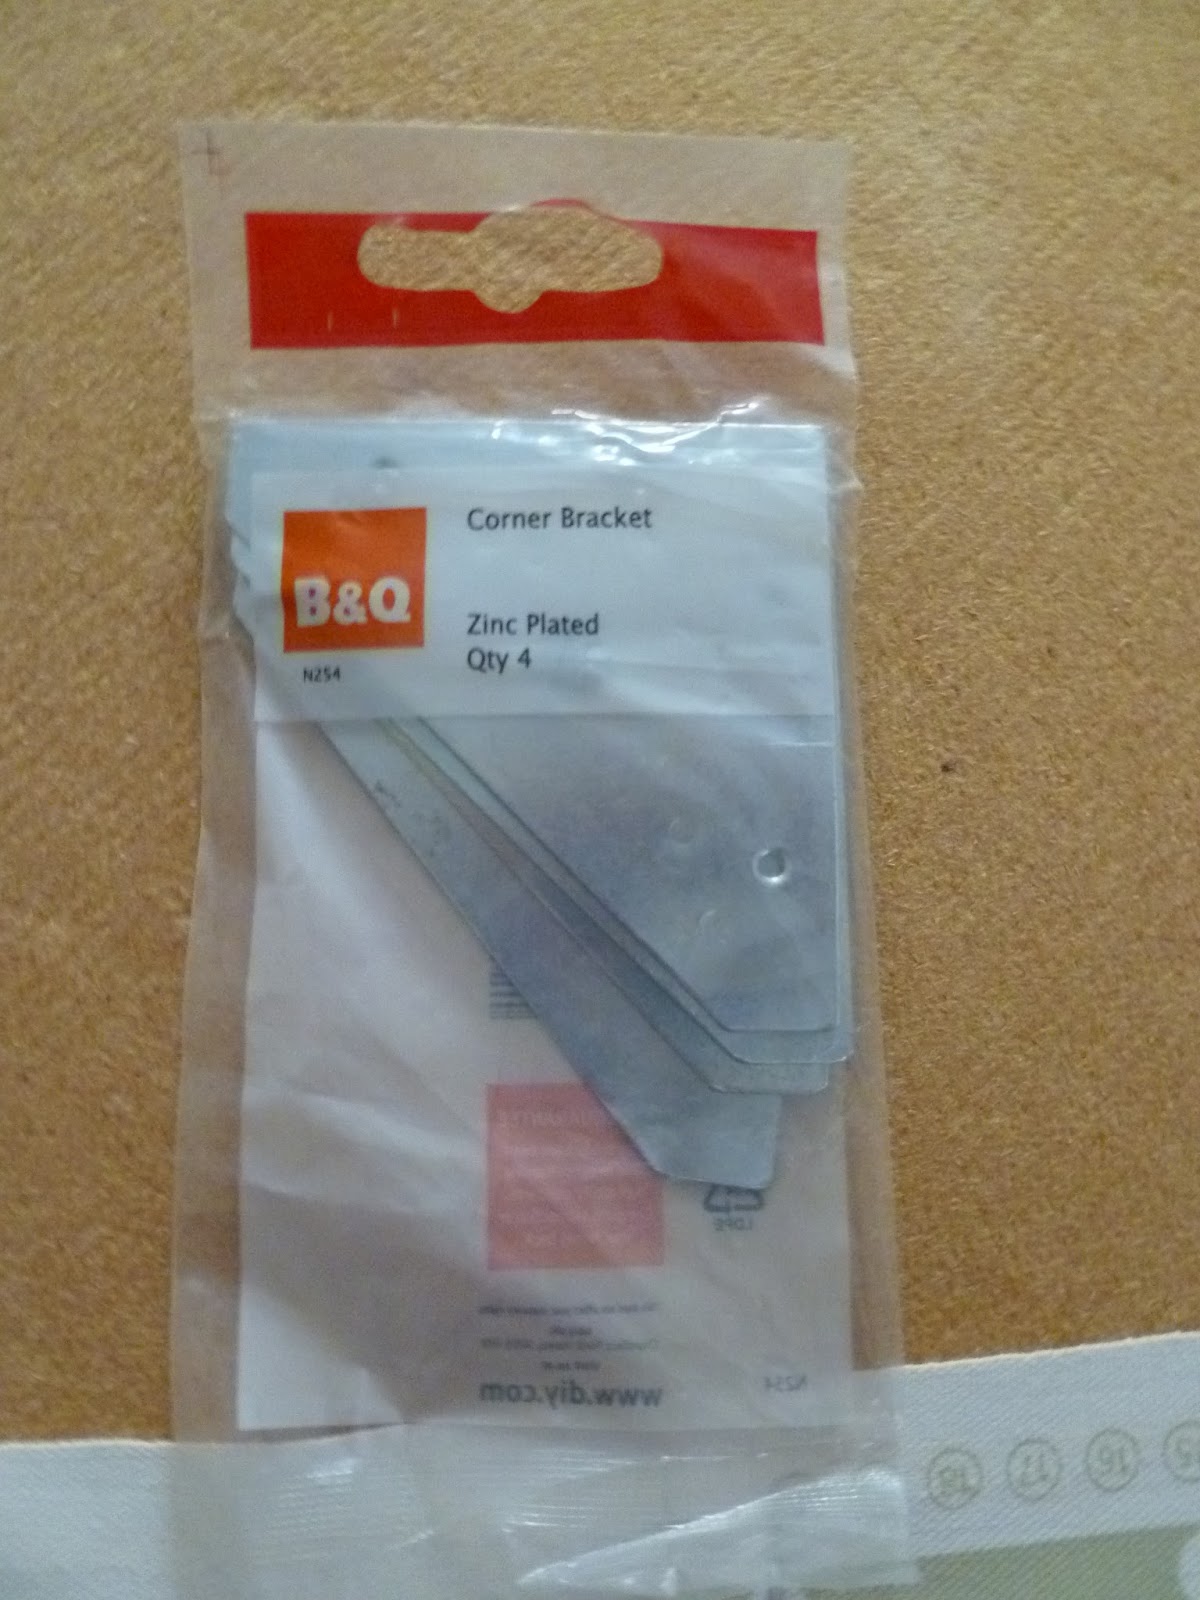
We got 8, one for each corner and one for in the middle of each side.

 |
| Oh there's 'J's' hand! |
The boyfriend proved useful yet again and out came the power tools.

And the big reveal...
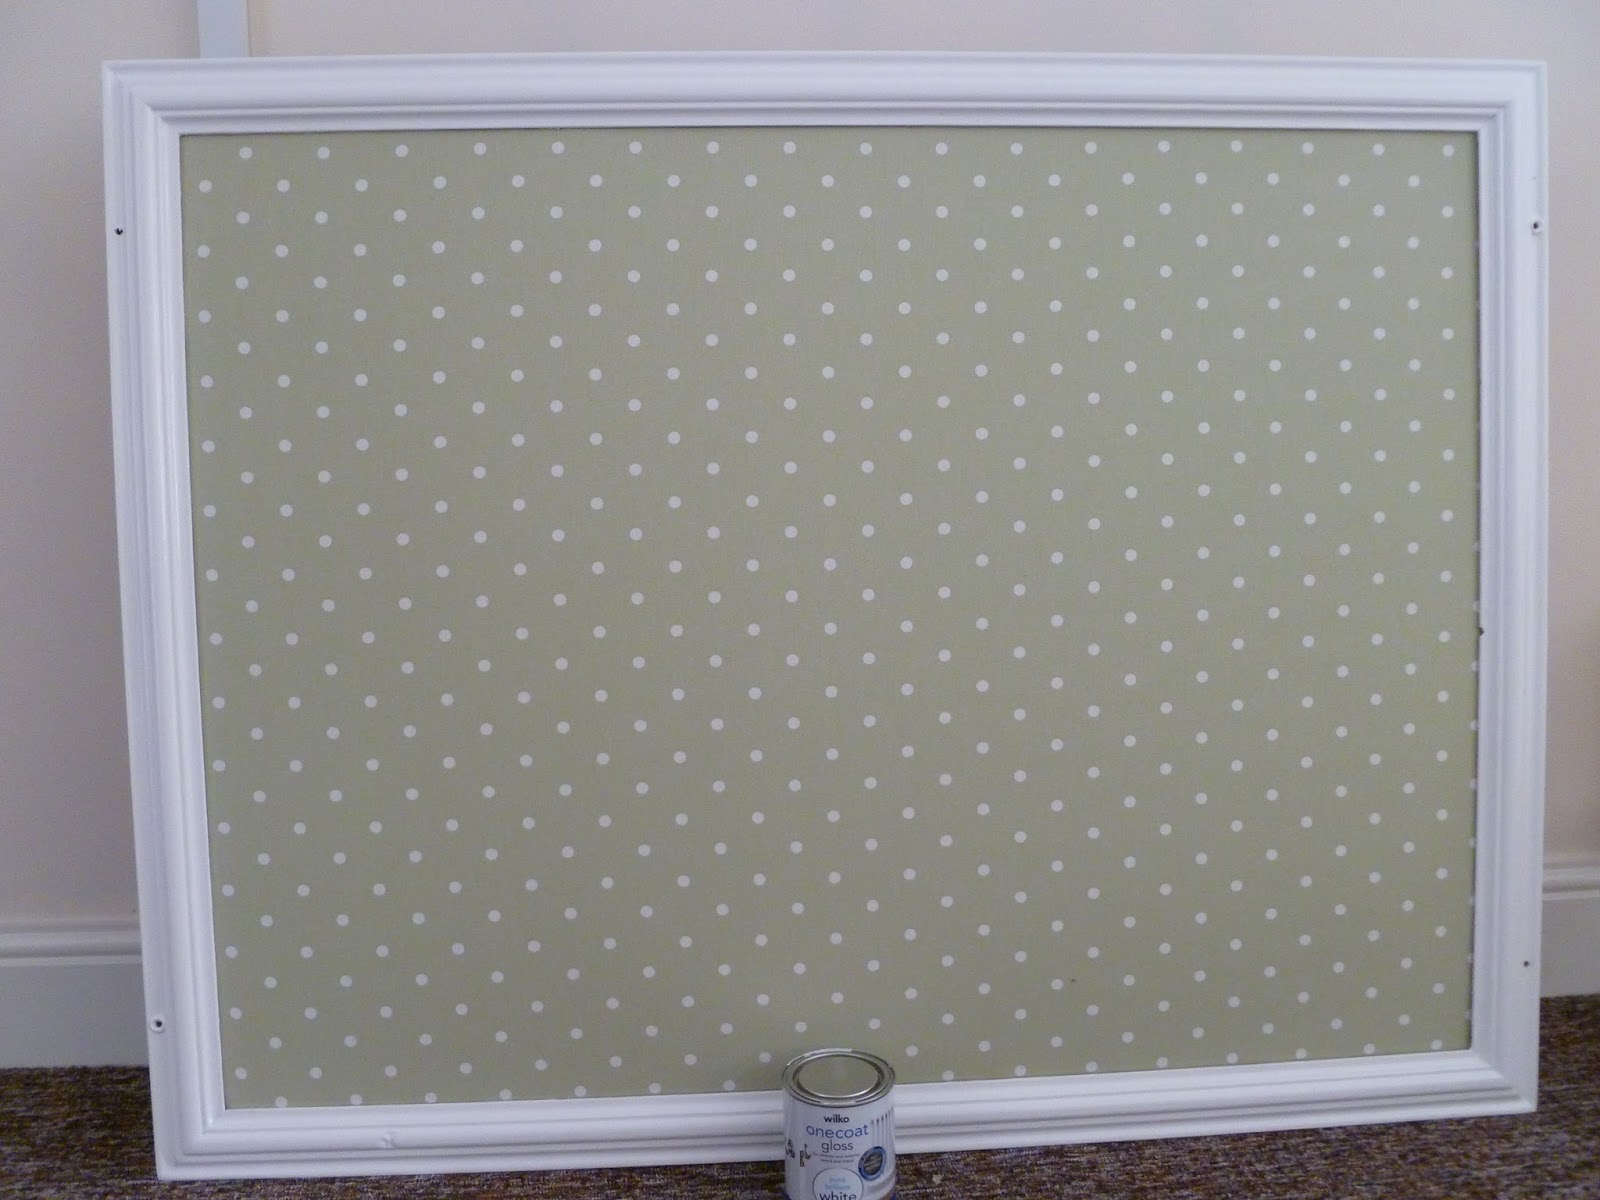 I used the paint tin to show the scale of our mammoth pinboard!
Ta Da! We are so happy with how it has turned out and can't wait to move in and get it up on the wall. It's going to make a lovely feature for our new dining room and will be such a great place to display all our reminders, photos, tickets, invites, postcards and whatever else we like. I just have to work up the courage to put pins in the beautiful thing!
I can't wait to share a picture of it in it's new home!
Muchos x
No comments:
Post a Comment